Zenmuse P1 image test
In this article we present the results of an experiment to determine the optimal camera settings for a range of shooting distances with the Zenmuse P1.

Introduction
Methods
In this experiment, we changed only the aperture setting and left the remaining settings on auto. This allowed us to observe the affect of aperture in isolation. The level of sharpness from varying aperture is also independent from factors such as light conditions and surface reflectivity, as well as from varying ISO and shutter speed.
As aperture will change the amount of light reaching the sensor, the other settings: ISO and shutter will have to be changed accordingly. However, you can consider aperture the primary setting to achieve the correct sharpness, and ISO and shutter speed as secondary: ensuring the light (and motion blur if during a flight) are optimised.
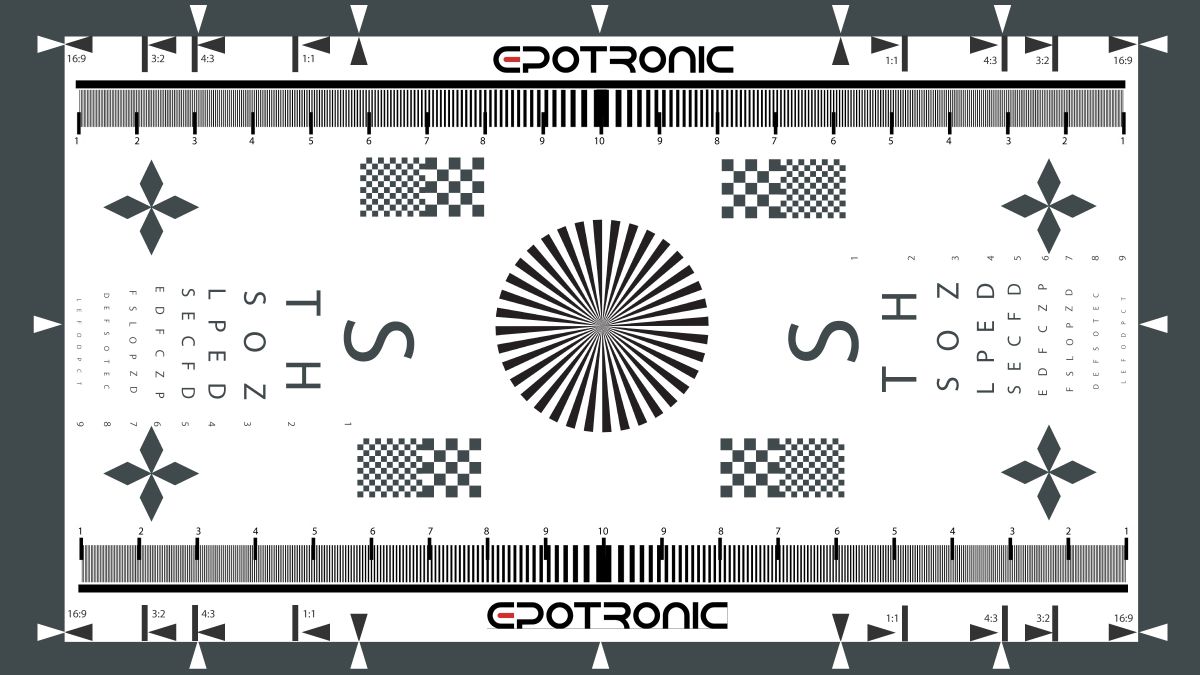
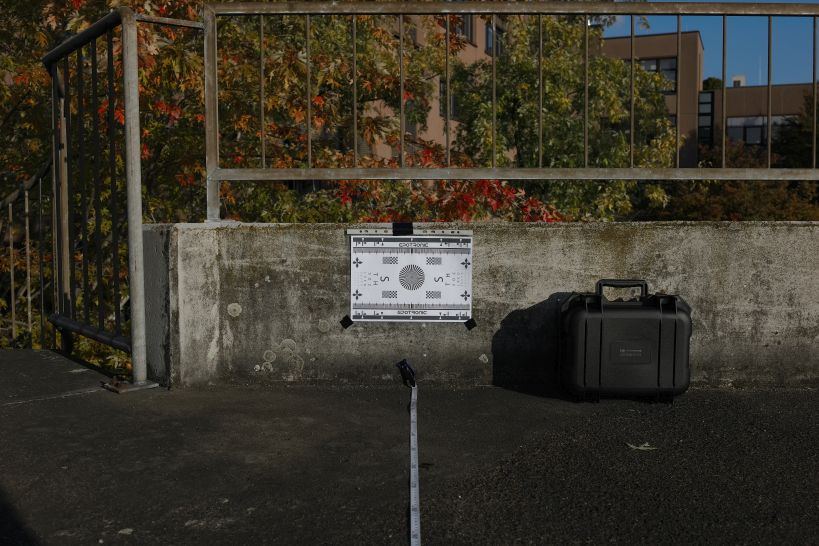
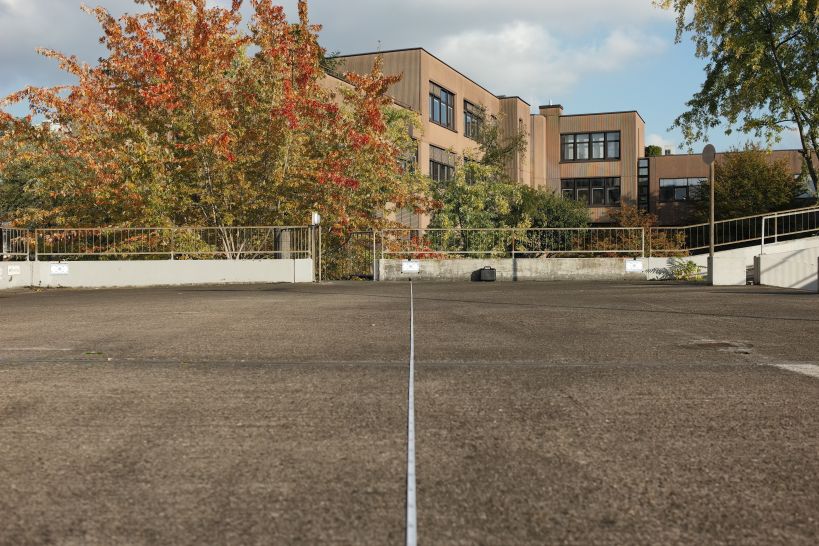
We did not fly with the drone, but rather placed at a range of distances from the target surface (a wall) on which we placed three lens testing charts as shown to the right. This has a number of graphics that are designed to measure image sharpness. For example, you can see up to which line of increasing thinness is visible. We placed one so that it would show in the middle of the image, and two so that they would appear at the right and left of the image (when possible). This ensures that we get a reliable estimate of the sharpness of the complete image.
We captured photos at six distances: 2 m, 4 m, 6 m, 10 m, 15 m and 25 m, changing the aperture at each. At each distance, we manually inspected the set of images, comparing the sharpness of each. Please note, the P1 is capable of capturing sharp images at over 120 m distance. We tested up to 25 m because these are the heights providing the highest resolution (Ground Sampling Distance), where sharpness is likely to be more critical e.g. for detailed inspection, and for practical reasons.


Results
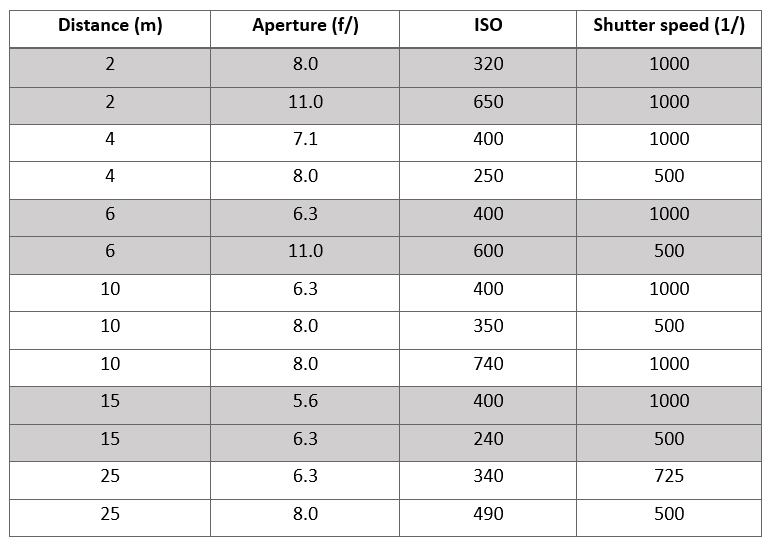
Our results are shown in the table to the left. At each distance we found at least two images that were so similar we could not tell them apart, therefore, there are more than one apertures shown for each distance.
Although we had the ISO and shutter speed on auto, this information is also shown as it may be useful to know. However, please note, the optimum ISO and shutter speed will depend on the specific lighting conditions and surface reflectivity, as well as flight altitude and speed.
Discussion and Conclusion
The results provide users of the P1 with a set of aperture settings with which they can be sure to achieve a sharp image at certain distances between two and twenty-five metres. Such high sharpness may be necessary for tasks requiring the highest resolution, such as inspection or engineering-surveying tasks. Users can still rely on the P1's auto-settings to acquire sharp images up to over 120 m, however, these data provide a secure back-up when requirements or time are critical.
In the future we would like to study the affect of other camera settings on image quality. We would like to discover at what point image quality is reduced from reducing shutter speed. This will depend on other characteristics such as altitude (lower altitude flights will produce blurry images at a higher shutter speed compared to higher altitude flights), surface reflectivity, and light conditions e.g. sunny or cloudy. We would also like to perform a similar analysis for other sensors such as the Phantom 4 RTK and Mavic 2 Enterprise Advanced. So, keep tuned, and subscribe to our newsletter to ensure you don't miss out on our future content.
If you have any questions or for anything else, please don't hesitate to get in touch at info@epotronic.com.


